My absolute favorite ink to make and to use is black walnut ink! The eastern black walnut tree is native to North America. Black walnut trees are primarily used as a resource for lumber. The nuts are my favorite ink resource – and a food resource for a variety of species. People can also eat the “nut meat” of black walnuts. I’ve never tried it but maybe one day I will!
Every October, I set out to collect at least two large bagfuls of black walnuts from my parents’ house. August through November is when black walnut trees drop their fruit. Their green tennis ball-like fruits ripen on the tree and then drop to the forest floor with a loud thud. That’s when I compete with the resident squirrels to collect them - and not to worry, once I make my ink, I discard the walnut shells back into nature. No additives are used while I make my inks. That only happens after they are jarred. This is my recipe on how to make a jar of rich, dark brown black walnut ink.
FORAGING and PLANT MATERIALS
Collect your black walnuts when they’re turning brown or fully brown. In their green stage, they’re not going to make great ink. That’s why I prefer to forage in October. I love walking through the woods in October, you can hear the creak and thud of black walnuts dropping to the ground – and beware! – getting hit in the head by a falling black walnut is painful!
Collect at least 16 - 24 black walnuts in a plastic bag or cloth bag. Plastic is awful and I avoid using it as much as I can, but it’s helpful in this process (you can rinse the bag when you're through with it and save it for next year's black walnut hull). Black walnuts will stain just about anything so be mindful where you place them! With ink making, it’s best practice to have more plant material than less. Aim for at least 24 black walnuts to have the best ink outcome.
I recommend leaving your bag of nuts in the freezer for a week or longer. It will kill off any bugs living inside the black walnuts. It will also assist in turning green nuts into brown nuts. By freezing them, you will also prevent mold from forming.
SUPPLIES
A large, deep stainless steel pot or aluminum pot (used for dye/ink making ONLY do not use your cookware)
1 - 3 Medium or Large mason jars to store the ink in
1 Additional Medium or Large mason jar to assist in filtering your ink
2 Large plastic bags (or cloth) to collect and store the black walnuts
1 small and 1 large metal spoon, a small metal strainer, a handful of paper coffee filters and a few rubber bands
6 - 10 cups of filtered, cold water (more or less water depending on how much ink you want/add more water if the ink reduces too much)
Clove buds or wintergreen oil to add as a preservative (purchase at Whole Foods or other grocery stores)
5 - 10 strips of paper to test ink color on as you process it
Gum Arabic powder or liquid, to use as a binder (you don’t really need a binder for black walnut ink. The tannins in the walnuts fix the color to the liquid naturally). You can use Gum Arabic as a thickener.
Iron power (optional) if you plan to use a mordant to darken your ink
PROCESS
Fill-up your stainless steel/aluminum pot with the preferred amount of water. Remember, as the ink simmers it will evaporate water. Too much water will make the ink less opaque. Find a happy medium by experimentation. My method: 16 - 24 black walnuts + 6 - 8 cups of water = 1 - 2 medium or 1 large mason jars’ worth of dark brown ink.
Bring your water to a simmer on the stove (10 -15 minutes).
Once the water is simmering, turn your heat to the medium heat setting and add in your black walnuts.
With the lid on, slightly cracked, let the black walnuts heat slowly in the water and simmer/boil. Turn the heat down if the ink begins to boil too much. A bubbly simmer is ideal. If it’s too hot the water will evaporate very quickly.
Ideally, let the black walnuts process for between 4 - 8 hours before turning the heat completely off. 2 - 3 hours of medium heat processing and another 2 - 4 hours of low heat processing is ideal for breaking down the nuts. This helps make the color richer. Stir and check on your ink pot every 30 - 45 minutes. Safety Reminder: Do not leave your home with the burners on! You can always restart your ink if you need to step away. It takes me two days sometimes to process my black walnut ink if I’m not home for a full day.
Around the 2-3 hour mark, take one of your paper strips and dip it into the ink, testing the color quality. If the test strip is light, increase the heat of your ink and continue to process it for at another 2+ hours. If you have little ink water left, add more in. Test again around hour 4. Continue to process and test every hour until the color is dark brown.
Once your ink is cooled down after 4 - 8 hours of processing, mash up your black walnuts. Let your black walnuts sit overnight in the pot (for at least 12 more hours or longer if you’d like). The ink will continue to darken overnight. The mashed up plant materials will help increase the pigment particles in the water, making for a better ink consistency.
The next day, scoop out the black walnut shells and discard them outside if you can or toss them in your compost bin! Squirrels will eat your leftover black walnut shells. Ink making for me is about honoring the earth and incorporating it into my artwork both conceptually and physically. You’re not respecting the earth by adding your black walnuts to a landfill.
Place a coffee filter over the mouth of your mason jar, with a rubber band securing it. You want to strain as much plant material out of the liquid. This usually takes at least two-three strains to accomplish. I prefer to set my mason jar over a paper towel/cloth on my kitchen table. I pour the ink slowly over top of the coffee filter and let it strain for about 20-30 minutes at a time – by that point the coffee filter should be free of liquid. You’ll need to replace your coffee filters as you go, a fresh filter speeds up the straining process and creates less mess in the longer run. Do this at least twice, by straining into one jar as you pour from the other.
Once the black walnut ink is filtered well, pour it into the unused mason jars that you had set aside. Add 3 - 5 drops of wintergreen oil or 3 - 5 clove buds to help preserve the ink. Keep in mind that the ink is alive, it can grow mold. I regularly check on my ink jars every few months to make sure that they’re in good shape. If you notice mold growing on top of the ink, scoop it out with a spoon or paper towel then add more drops of wintergreen oil or add new clove buds. I recommend re-jarring your inks once a year.
I recommend adding in 1 - 2 scoops of gum arabic powder or several drops of the liquid. The powder takes some effort to mix into the ink. Feel free to shake the jar. Use your small spoon to mix in the gum arabic until you no longer have large white clumps. Some residue is fine. Mixing can take around 10 - 20 minutes or so. It’s a great hand workout!
It’s modifier time! (Optional) Add a few sprinkles of iron power into your black walnut ink to sadden your color, making it darker. Iron is a mordant that helps adhere dyes to surfaces. It also affects the color of a dye/ink. Iron will darken the black walnut ink, making it almost black. If you want a very deep, dark black walnut ink it’s best to add.
Label your ink (Name/Month/Year/Mordant if used) and add it to your ink collection! I like to create an ink swatch at this time, on a spare piece of watercolor paper. I write down the same label details and brush ink across the paper. I add the swatch to my archive, to remember all the different types of ink I’ve made.


Swatches of all the black walnut inks I've made over the last five years.
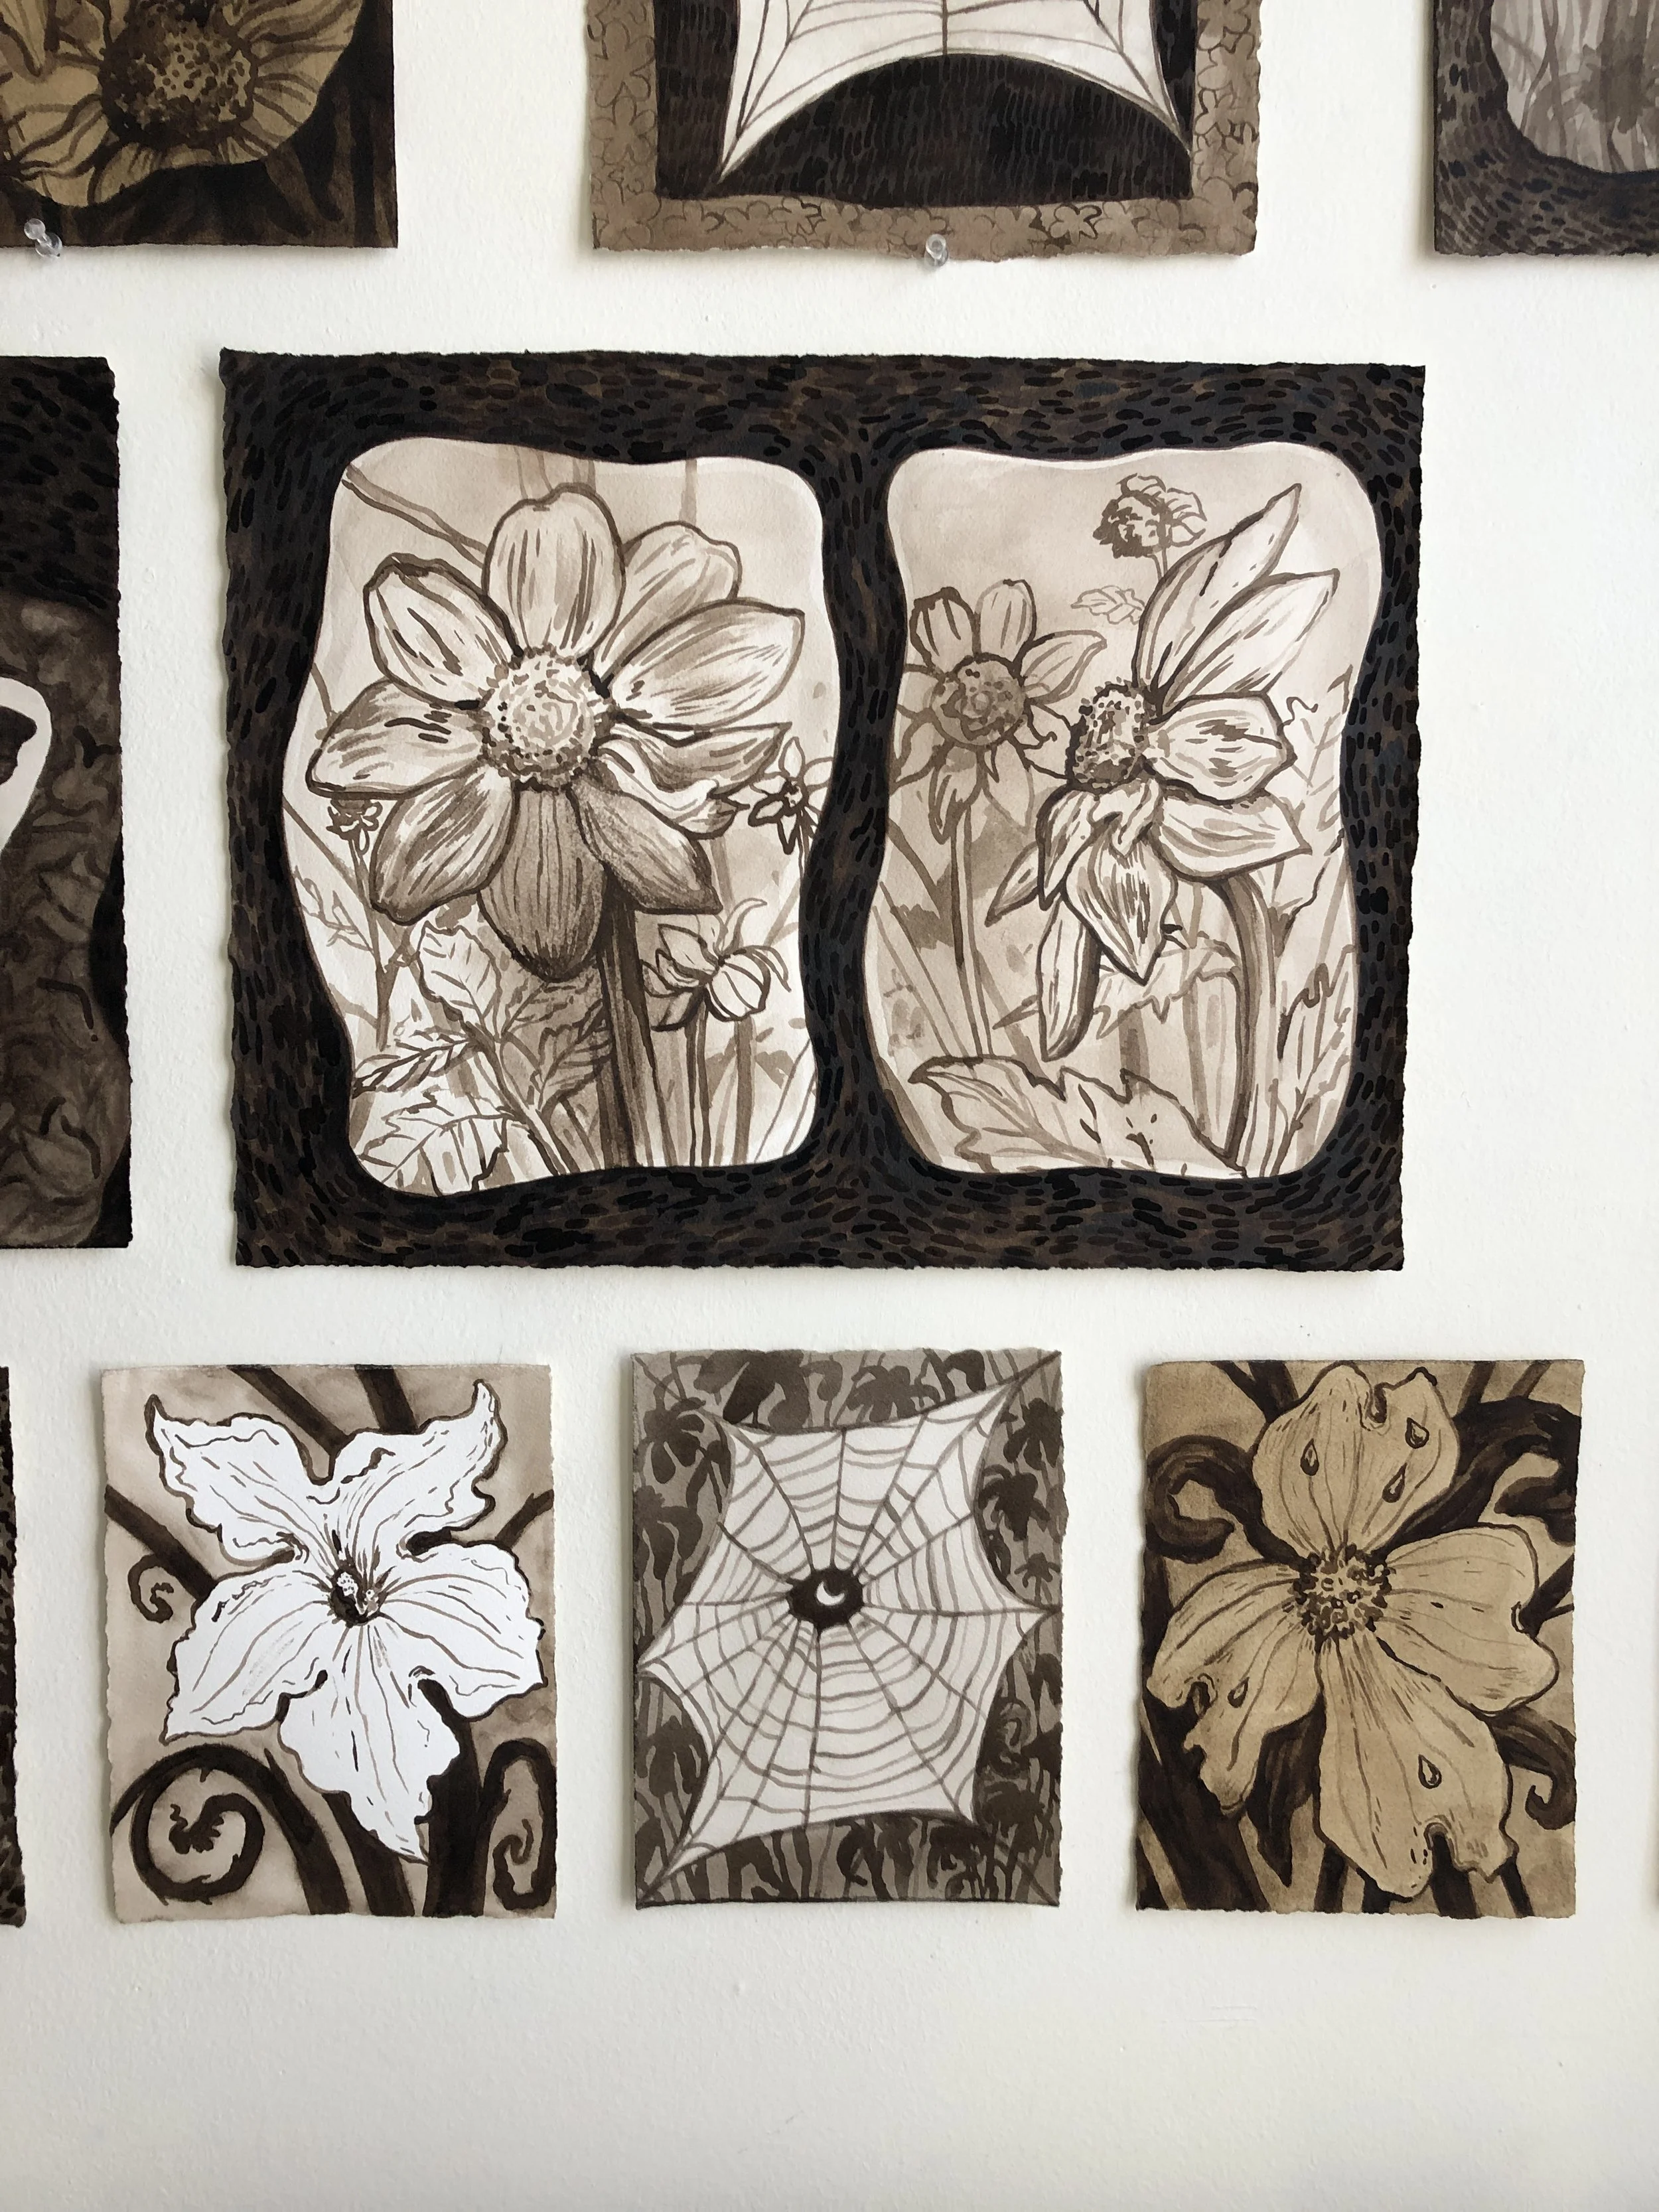
Examples of artworks made with black walnut ink only. See more artworks on my 2024 Paintings page.